Using AI to Generate Game Assets
By Anthony Duran

This is the armor we will be replacing.
Today I decided was the day I would finally re-skin my terrible leather armor for my elf character. Upon beginning work on painstakingly re-designing the texture’s by hand, I fell down the rabbit hole of AI-generated artwork as my muse. However, tonight the program I used to generate my armor texture wasn’t something like Midjourney or Stable Diffusion. No, today I used good old photoshop!
In 2021 [1], Adobe released a new type of filter for Photoshop known as “neural filters.” Photoshop has had filters for some time that can automatically generate fabric textures, add sharpness, etc. and in the past they were quite powerful. Yet, this deep in the Information Age, our artists demand even more comprehensive and powerful tools. Now, Photoshop offers incredible new filters on the cutting edge of software engineering.
Experiment 1:
For my first experiment, I chose the “Style Transfer“ tool. My thought process was that I could transfer the style of the old armor, but check the “preserve color” setting in order to keep the brown, leather color. In my experiment, I raised the strength to a value of 25, lowered the style opacity, and raised the saturation to +15 along with preserving the color. I found these to be the most optimal setting for this situation.
Although I found the results to be great and much better than the design it’s replacing, I actually felt as though this tool could be pushed even further to create a better design. In my further experimentation, I will attempt to understand the core usage of this tool further and fine tune the system for a higher quality texture.

Figure 1:
Blank template I made & tinted brown.
Texture from a different armor set.
The photos on the left are the two images that were mixed. The blank tan one was used as the base and the black and red image was used as a reference. The neural filter then computed a third image using the base and attempting to copy the style of the reference. The generated image can be seen above in fig 1.
Experiment 2:
In experiment two, I set a goal to delve deep and push the limits of what style’s could be transferred in order to generate more convincing visuals. My hypothesis was that instead of transferring a homebrew style to my template texture, I could try different styles curated by Adobe for use with this filter. I tried styles from the likes of Monet, Van Gogh, etc. that came with varying and interesting results.
My search concluded with this little wave design from an artist I’m probably too uncultured to recognize. I decided to use and image style rather than an art style due to the nature of the art styles being far too aggressive in their interpretations of the base image. With this image style, I actually kept all of the settings default except for preserve color. The results were perfect.
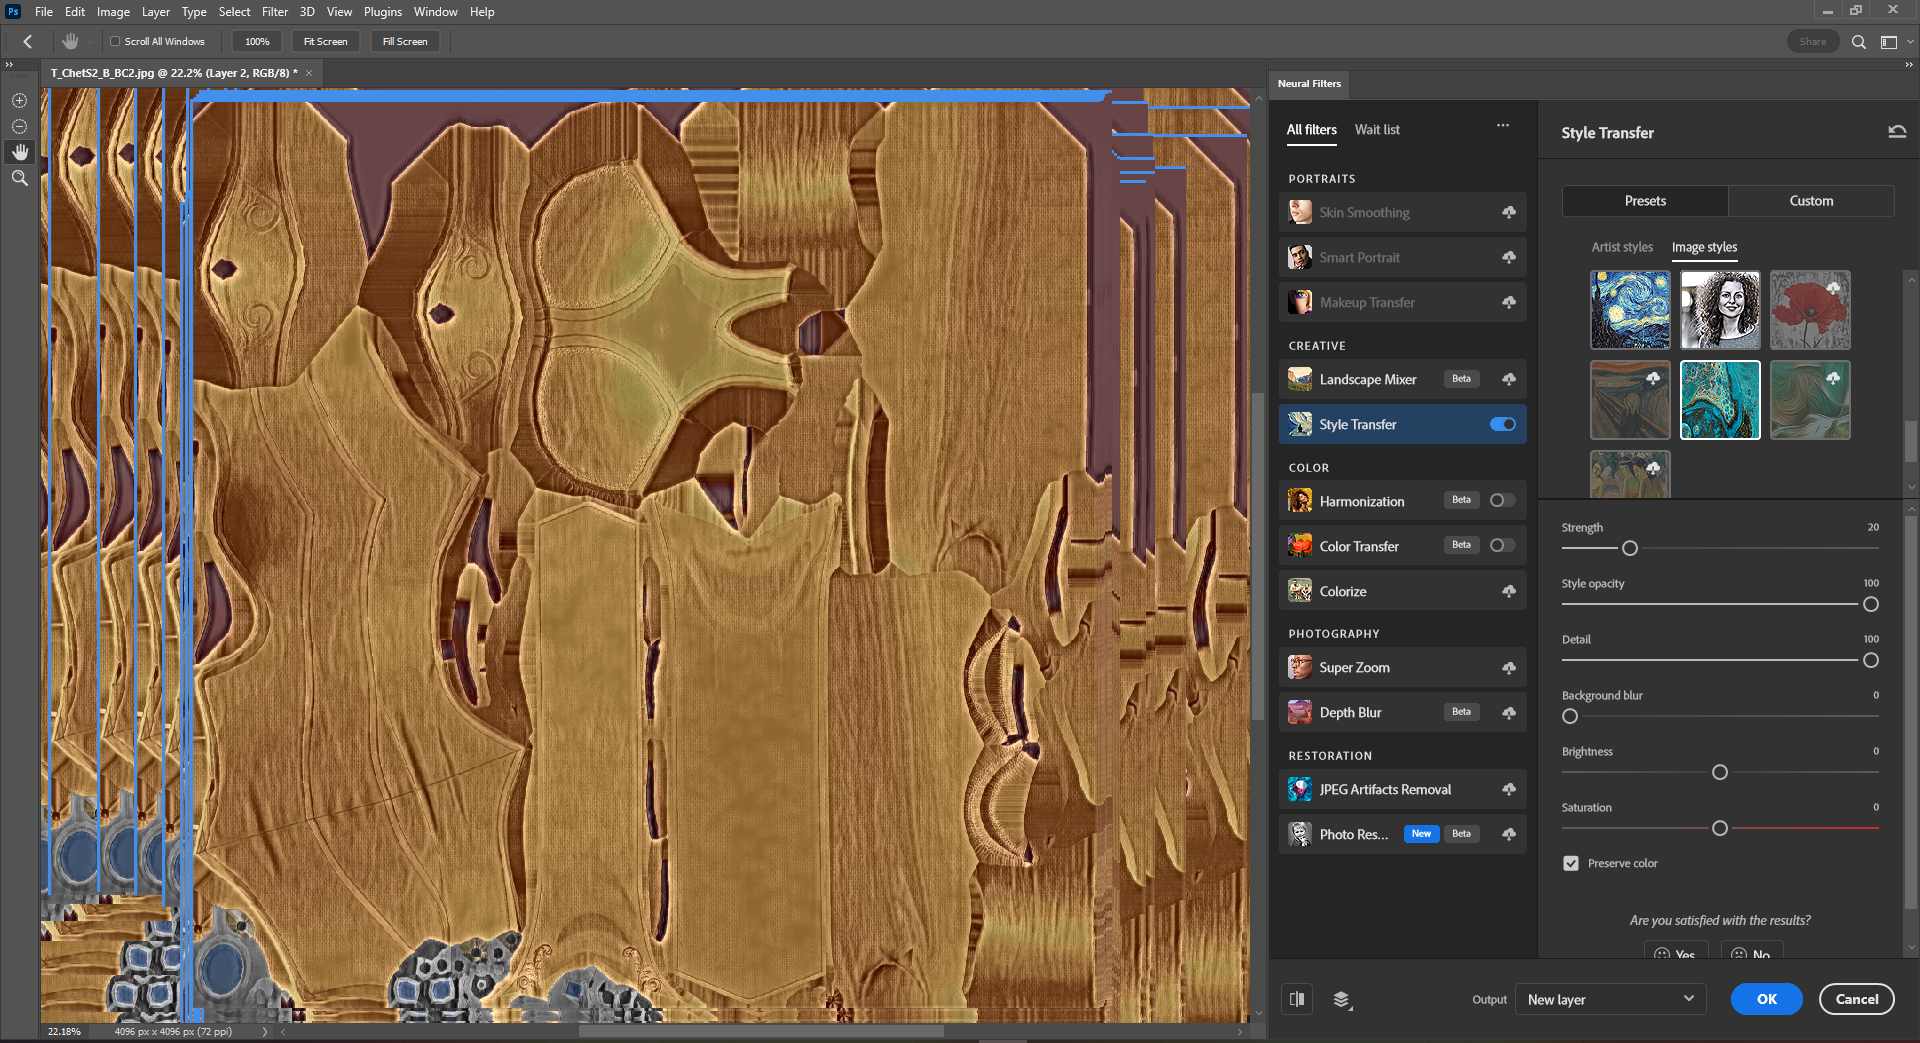
Figure 2: Results from Adobe’s style library. (Featuring crash)
Eager to compile my project in Unity, I added my newly generated textures to my character’s leather armor shader and the results were fascinating!

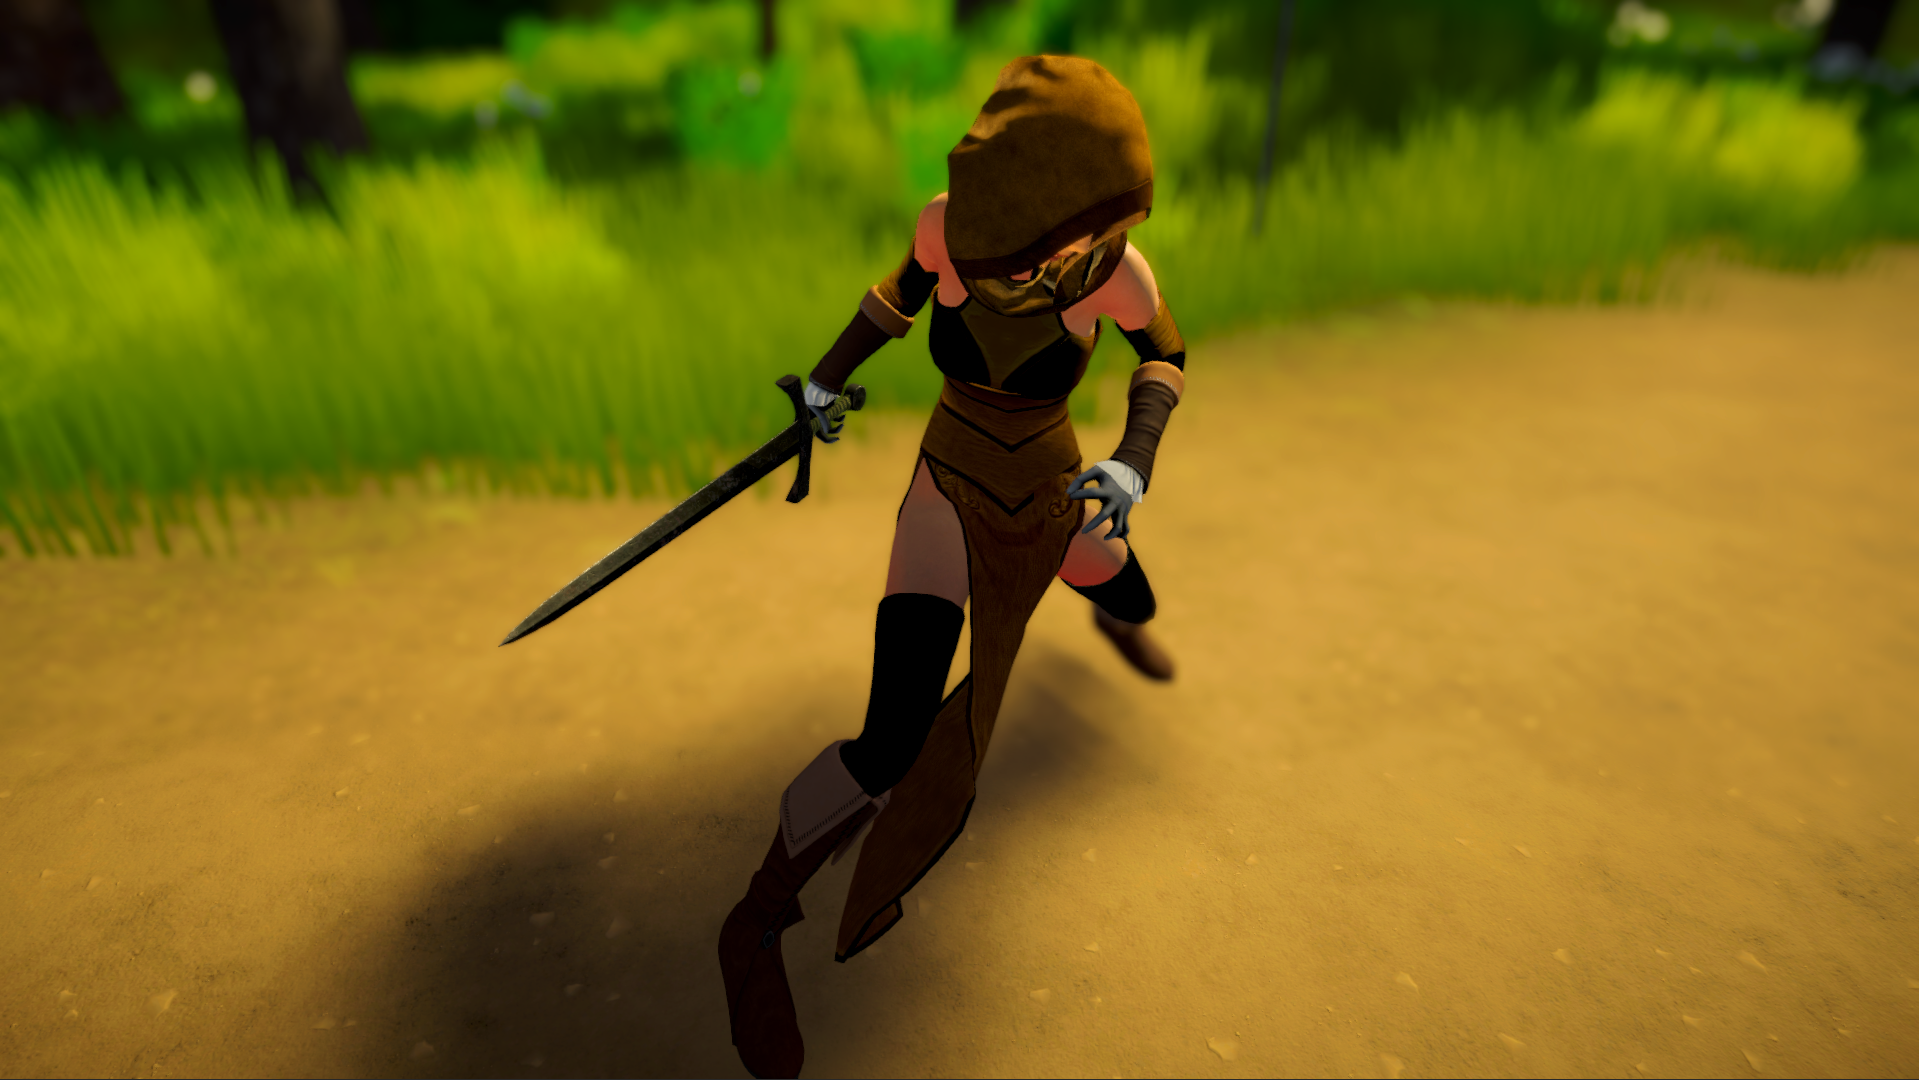
New Leather Chest Armor Design
Experiment 3:
The dodge tool was the new tool in my sight. My thoughts were that the arms and chest textures could use a bit more of a tanned leather color due to the fact that the shader’s bump map makes it look more like smooth leather in the lighting. I could adjust the bump map, but rather I decided to darken the parts of the texture to fit a darker leather look.
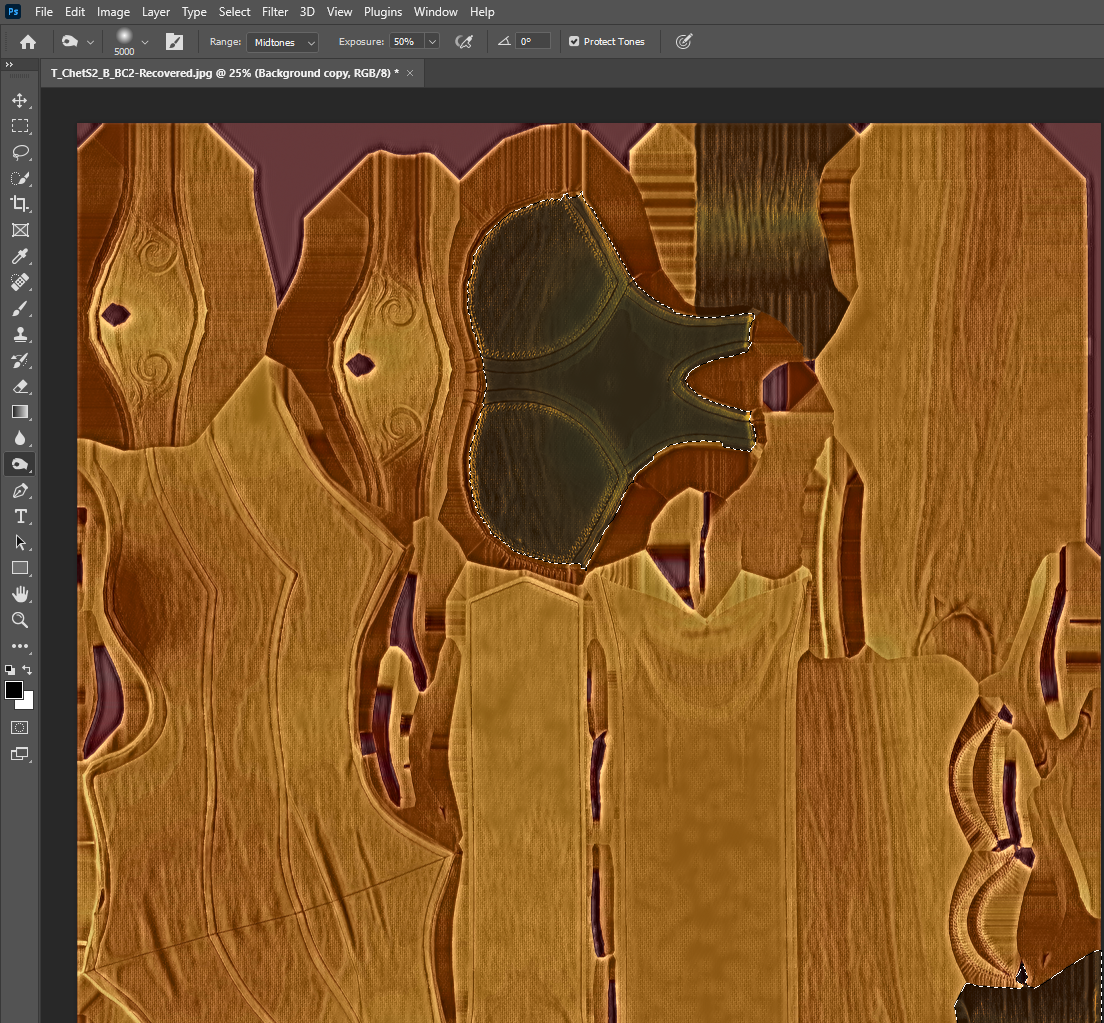
Figure 4: Finished texture.
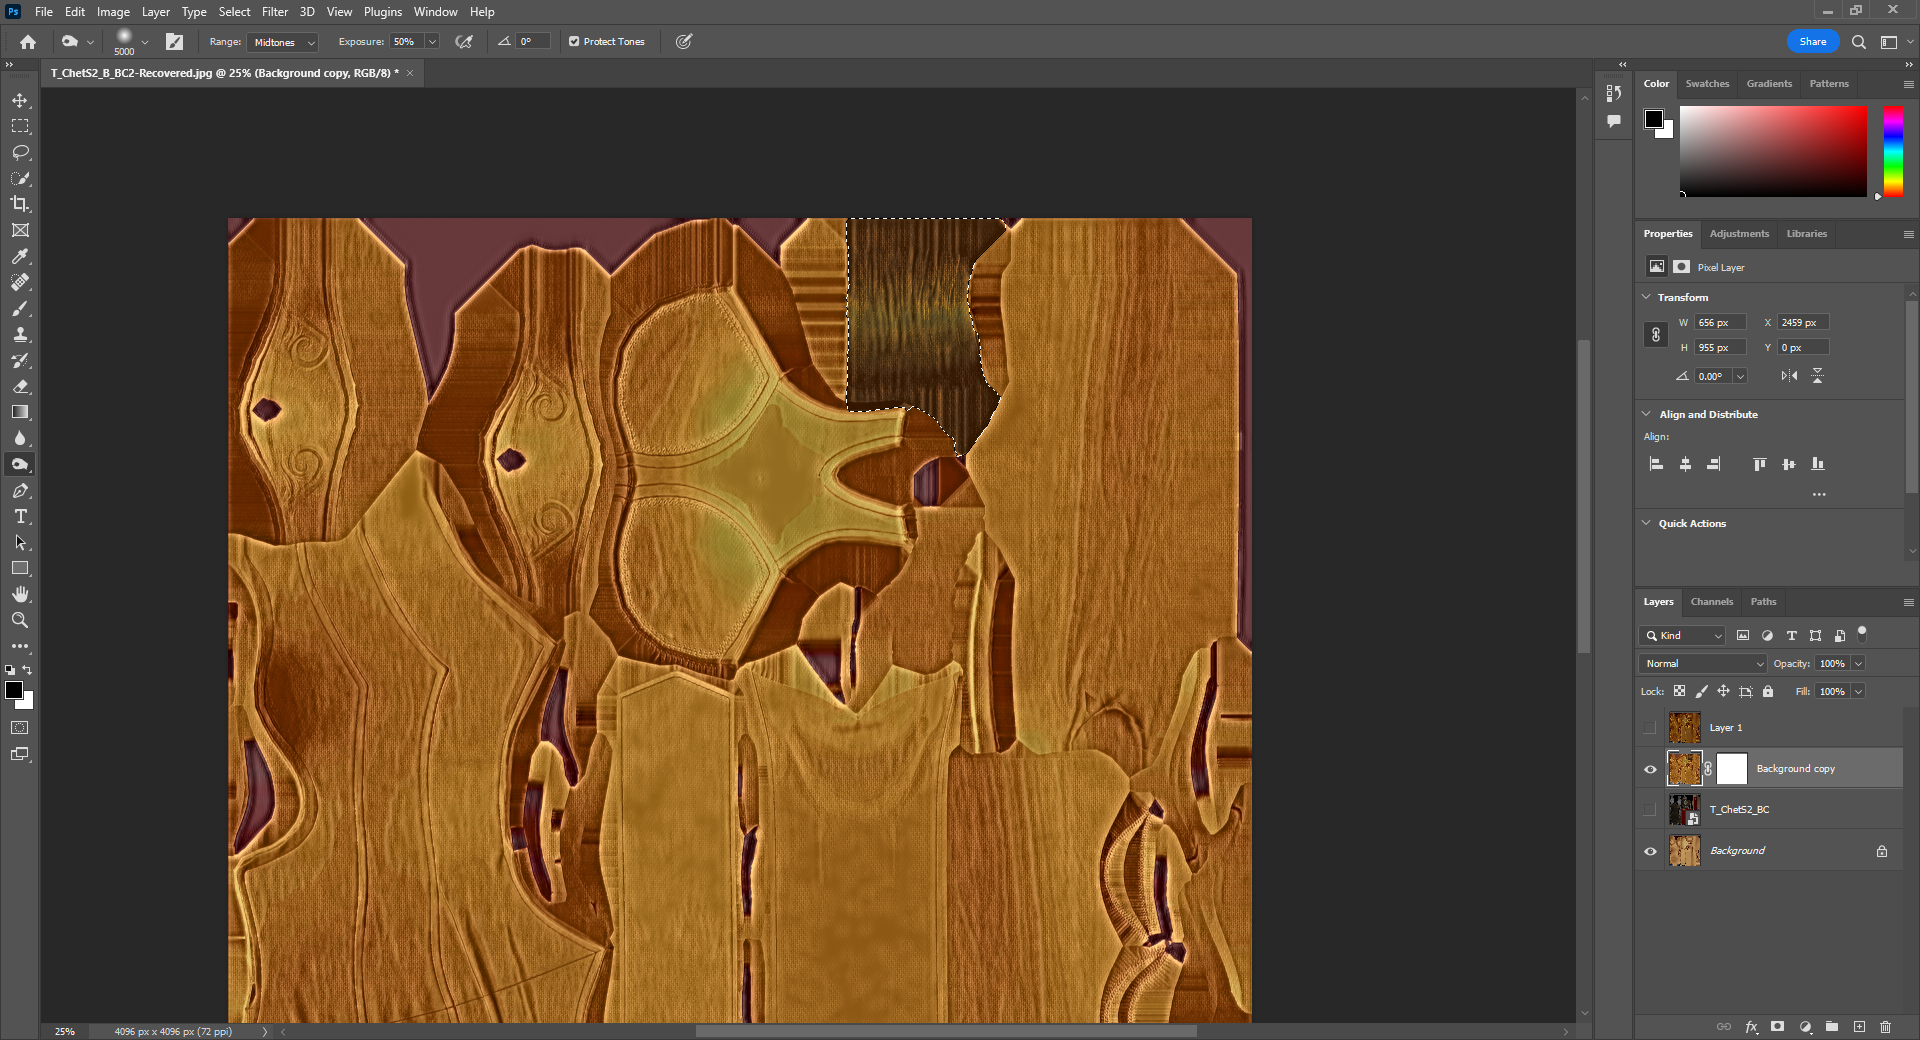
Figure 3: First zone with dodge tool applied.
My method for achieving this was to first identify the parts of the armor I wanted to change on the texture block. I found the sleeves by spotting the texture and the model in-game by eye. I then selected the parts I wanted to change easily using the quick select tool. After this, I clicked and held the dodge tool over the highlighted zones until they stopped darkening and did this about four times each zone. For the chestpeice, I actually did two more clicks as I wanted to blend the darker center more.
Experiment 4:
For my fourth and final experiment, I required a hood texture to go with my leather armor set. I theorized that I could replicate the results for the chestpiece again for the hood. I had to design a rough blank template for the armor. I then dyed it brown by lowering the the image brightness/contrast as low as it would allow me (-150/-50); and then applied a photo filter using the default warming filter (85) and setting the density to 85%. This gave me a brown blank template that I could use for my base.
Feeding this base into the style transfer once again provided tremendous results! However, this time I opted to use this image style with this light scenery. I also lowered the strength to 10, lowered the brightness -20, raised the saturation to +20, and checked preserve color. The results truly speak for themselves as I couldn’t have designed anything better myself.

Figure 5: Leather hood texture result.

New Leather Hood Armor Design
Conclusion:
It is 5 minutes to 3am on my now 25th birthday, I couldn’t be more proud to share the results of this research and hope someone else may find intrigue or value in it. I often find myself trying to push boundaries in my game development by incorporating new tech and even newer techniques. I appreciate any and all who decided to take the time to go on this journey with me and hope this was informative and interesting to the readers at home.
Below are some in-game screenshots of my character dawning her new armor. One improvement I think that could be made is possibly a color change for the center as it is much too dark compared too the surrounding lighter brown texture. Beyond that, however, I have little to complain about as this design is perfect for my use and an overall success comparatively to the time I put into this side project. I had expected a much longer endeavor than the one I experienced. It truly turned out amazing in my opinion and I eagerly await my next boundary to push!